
Using Embossing Folders to make a Simple Card
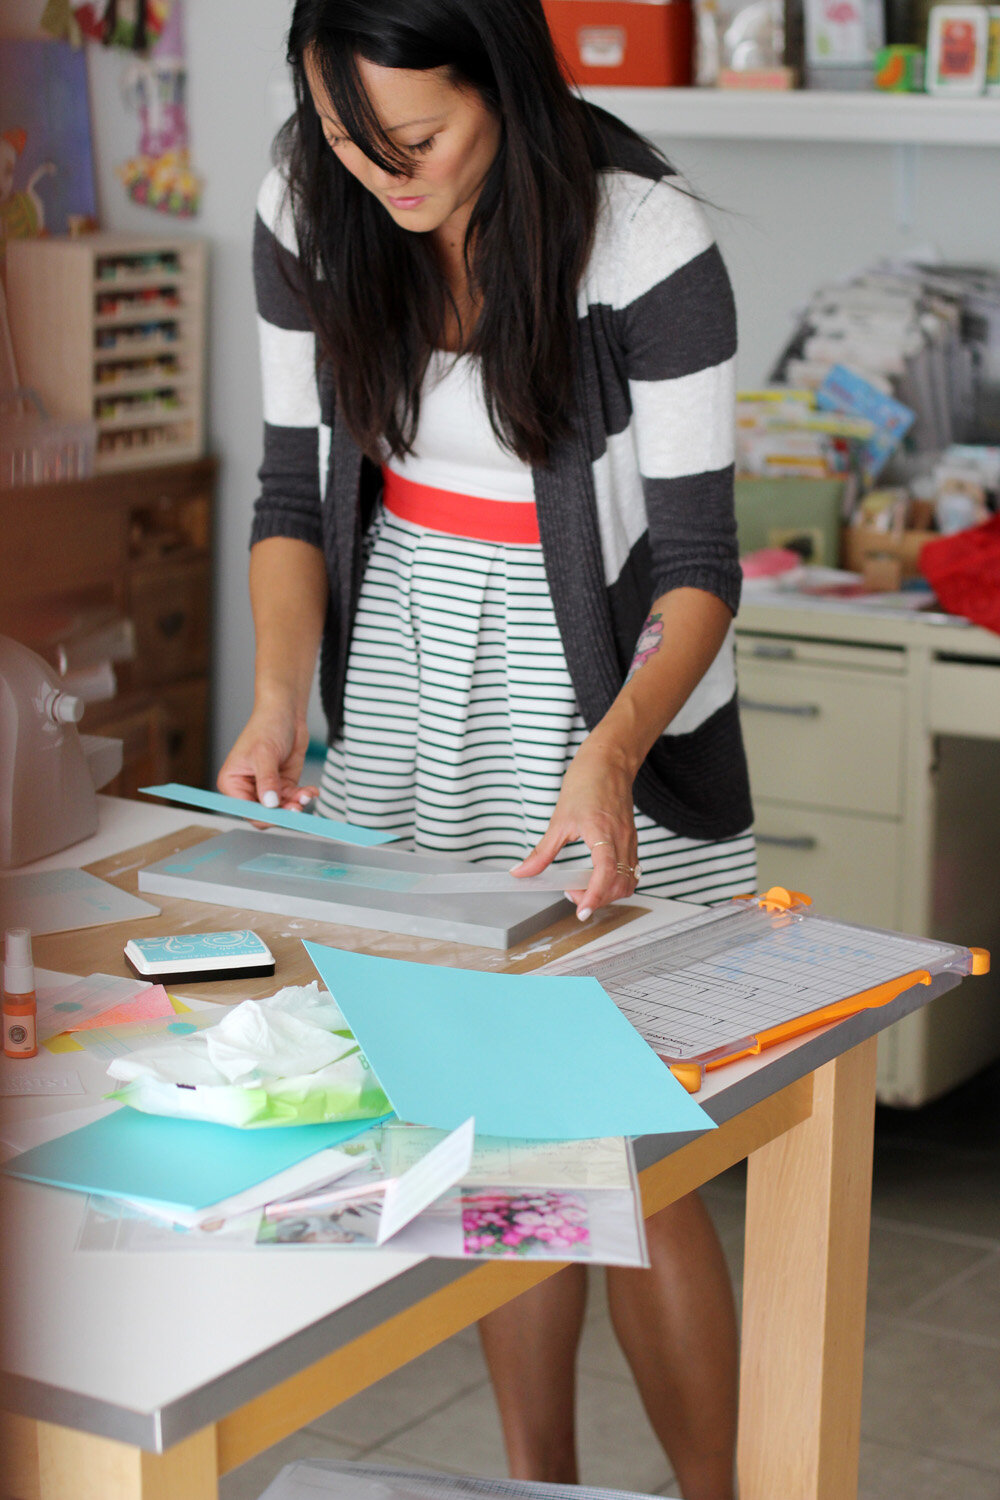
Though I'm not a card maker, I wanted to try my hand with my new embossing folders with We R Memory Keepers and the Evolution Embossing Machine. I used washi tape too, because I love it. I usually get really eager to try something for the first time and I want to take photos and film video of the process.


To come up with the idea for my card, I began by experimenting with different embossing folders and settings on the Evolution. I thought the sweetest thing sentiment on a scrap piece of cardstock would be a good place to start.
To use the embossing folder, I tucked a sheet of cardstock (making sure the smooth side would feature the embossed image) into the folder and held it in place.

Next, I adjusted the dial on the side of the Evolution to the "Emboss" setting.
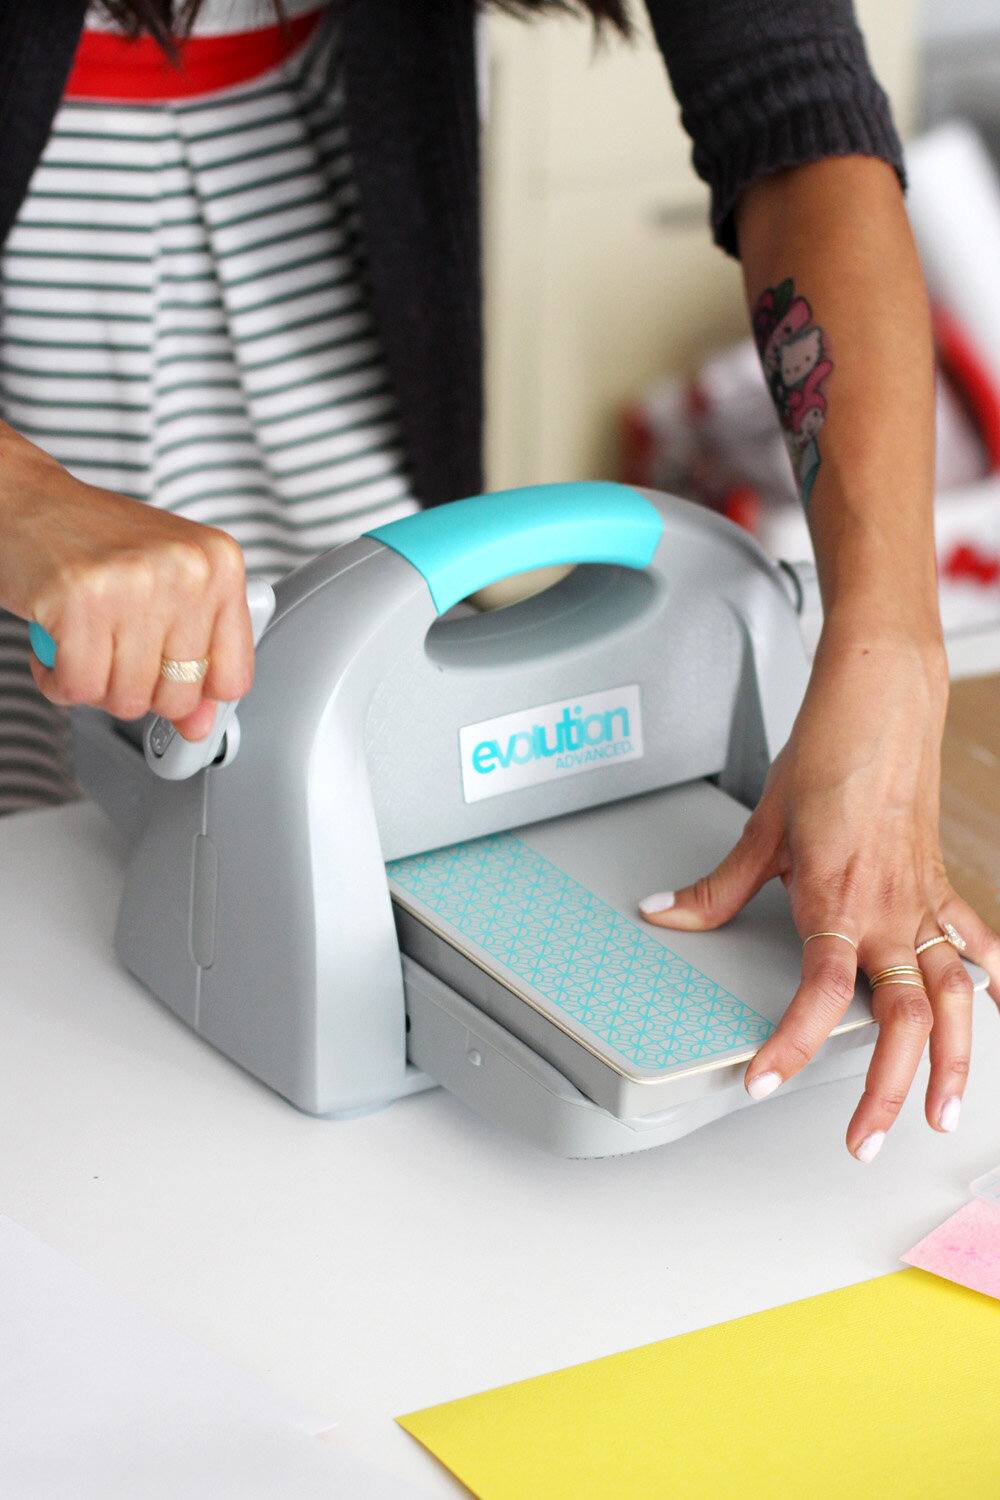
From there, I sandwiched the embossing folder between Mat B and a Cutting / Embossing Platform and inserted it into the Evolution.
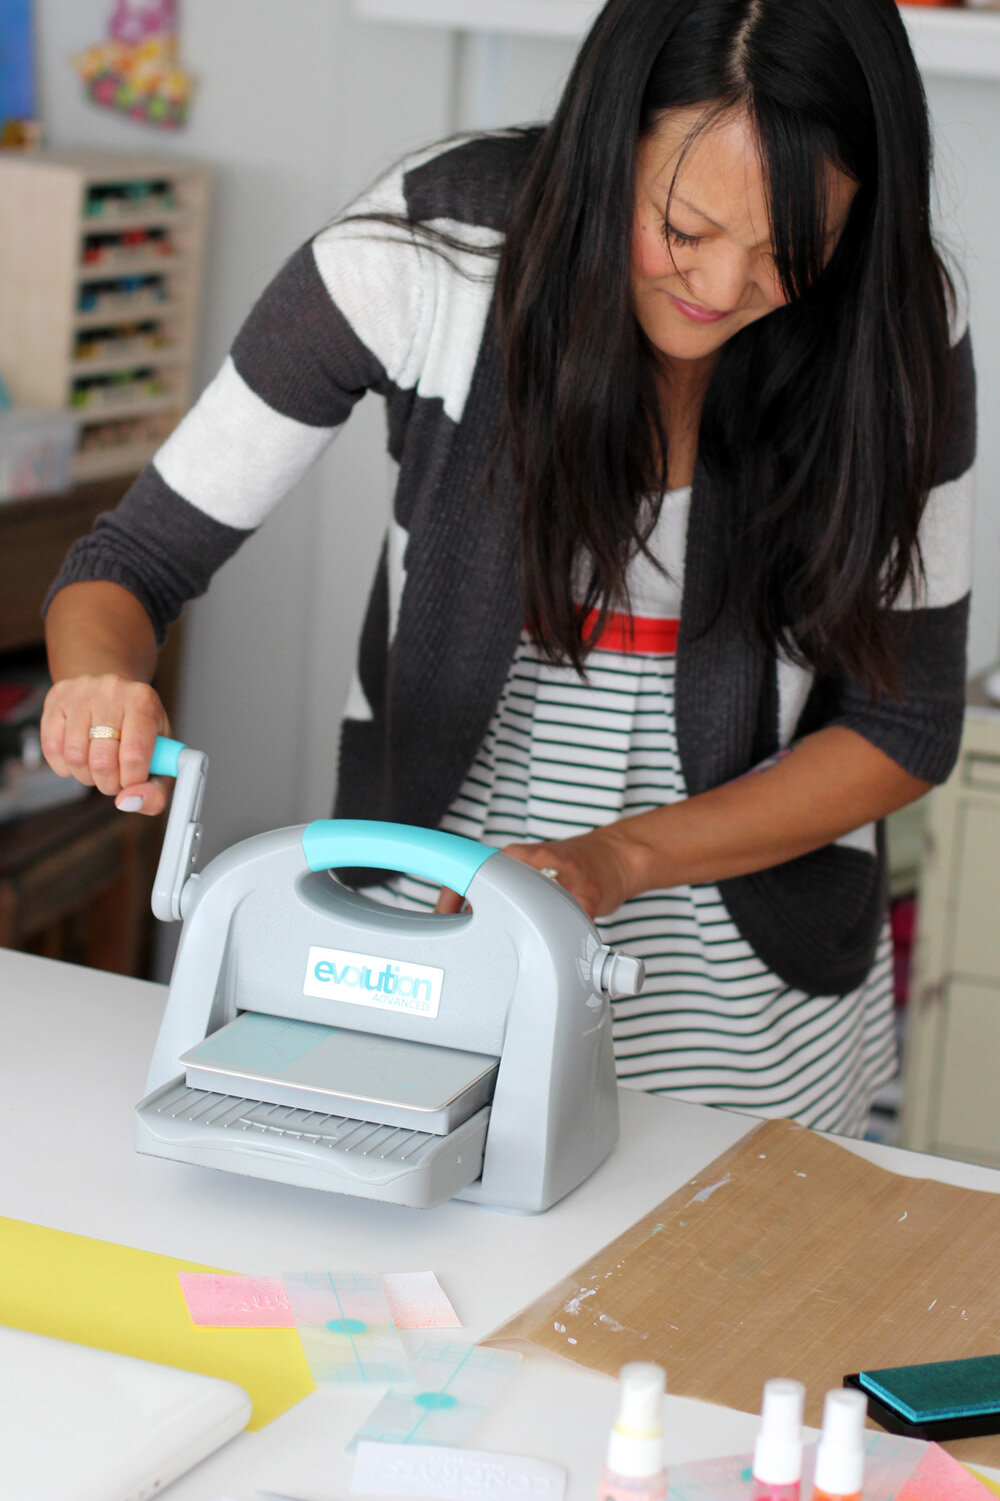
Once everything was securely in place, I cranked the handle until the mats and embossing folder ran through the center of the machine.

Look how cool the embossed image turned out!

Once I was familiar with how the embossing folders worked in the Evolution, I decided to create a card by using a different die and pearlized cardstock. I first began by folding a sheet of kraft cardstock in half and trimming it down to the standard card size to use as my base.

Next, I mounted my embossed image onto the kraft card.


Then, I embellished the card with various strips of washi tape.

For a finishing touch, I punched out three hearts from misted white cardstock and added them to my card.

Here's the finished project along with a video that shows the entire process. There's also a behind the scenes look at my filming set up, which I find to be pretty funny. But it gets the job done.
Supplies: We R Memory Keepers Evolution | Embossing Folders available here and here | Fiskars trimmer | American Crafts adhesive | Washi Tape Dispenser | MT Washi Tapes