
Wax Paper Box Washi Tape Storage
This is a guest post from Amelia of Make Today Creative! So excited to share her awesome DIY with you!
Washi tape is a favorite item for just about everyone that scrapbooks and crafts. One easy storage solution for a tape collection is to repurpose a wax paper or aluminum foil box. Not only is it a compact solution, it has a built-in cutting system and holds on average 18 rolls of tape. Using basic crafting tools and scrapbook paper, you can create a custom box to store your tape in an hour or two. It’s also perfect if you want to grab and go to local crops or weekend events.
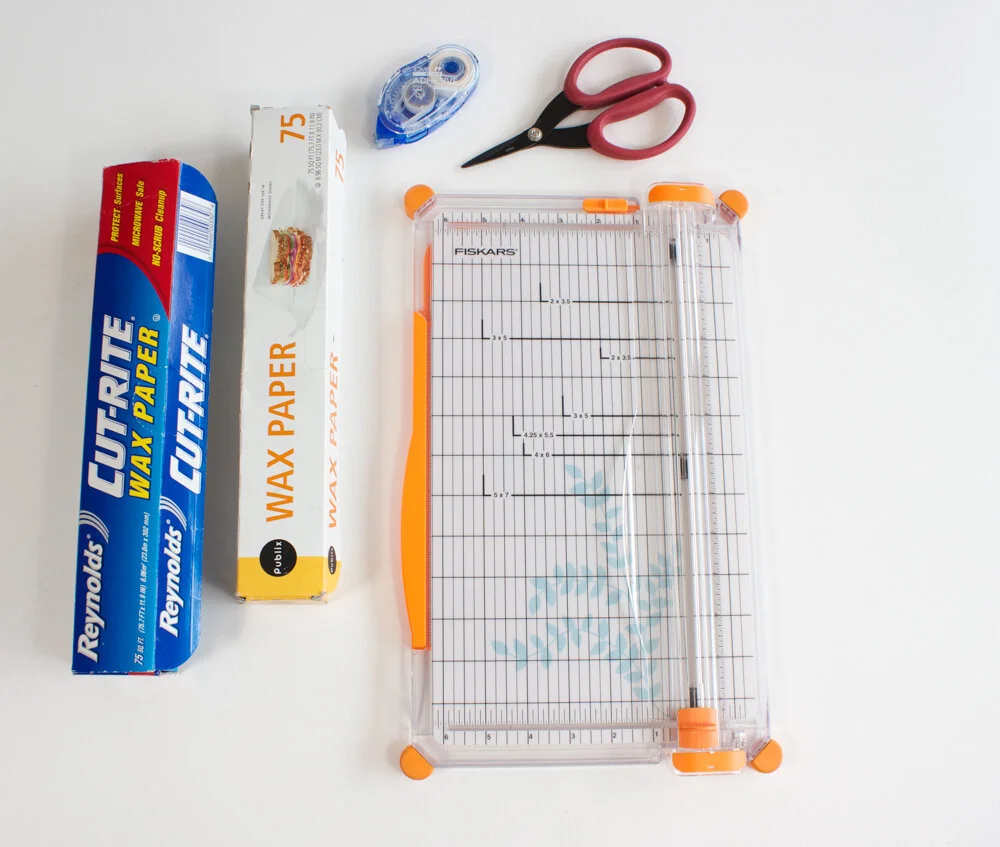
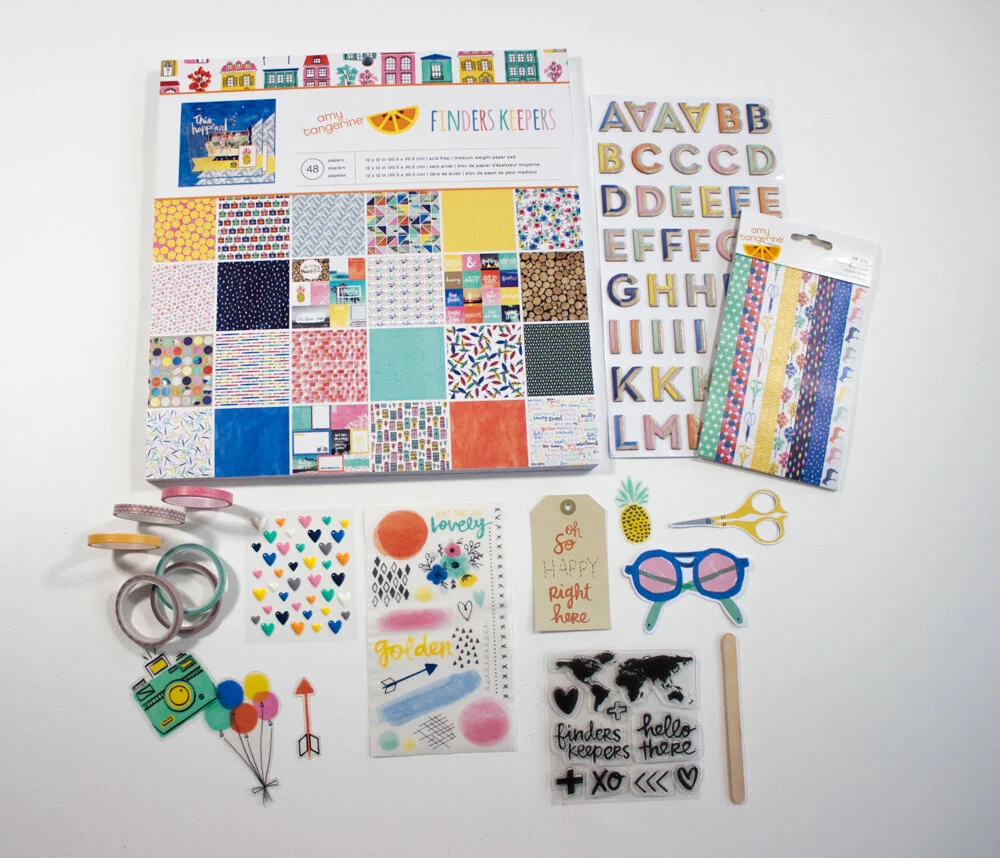
Gather your supplies: wax paper or foil box, tape, cutter, scissors, and your favorite paper. I used Amy’s most recent line for American Crafts called Finders Keepers.
Covering the box demands that you measure each panel and area of the box, cutting the paper to fit the size box you are using. I cover the entire box with paper, inside and out, for a more finished look.
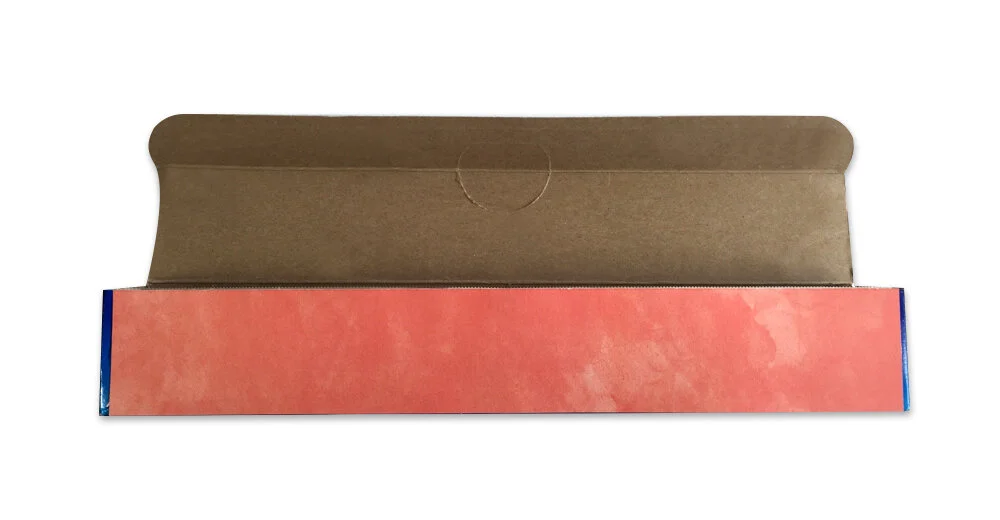
For the long sections of the box like the front shown above, cut a 12-inch strip of paper and center it in the space. As you can see, the box is about a half-inch longer than the standard 12-inch paper, so I center the paper and add decorative strips of a contrasting paper, ribbon or Washi tape on each end. This gives the box a finished appearance with a symmetrical design.
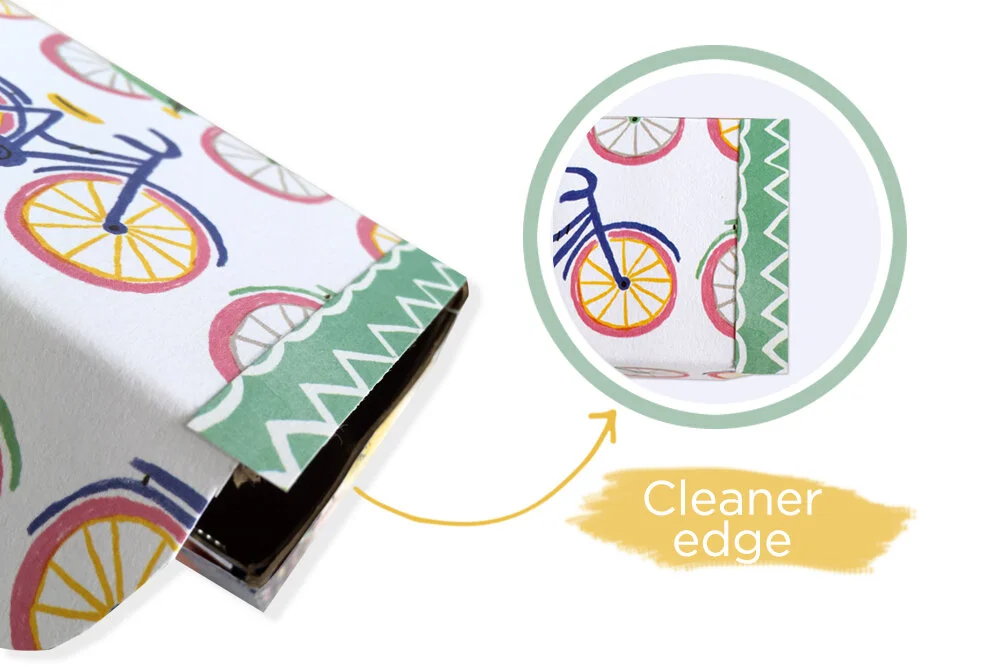
When finishing the top, cut the end pieces a smidge wider than what you need to cover. It will look like its hanging over when the box top is open, but when you close the box it will have a cleaner look and cover the raw edge of the cardboard box much better.
When finishing the top, cut the end pieces a smidge wider than what you need to cover. It will look like its hanging over when the box top is open, but when you close the box it will have a cleaner look and cover the raw edge of the cardboard box much better.
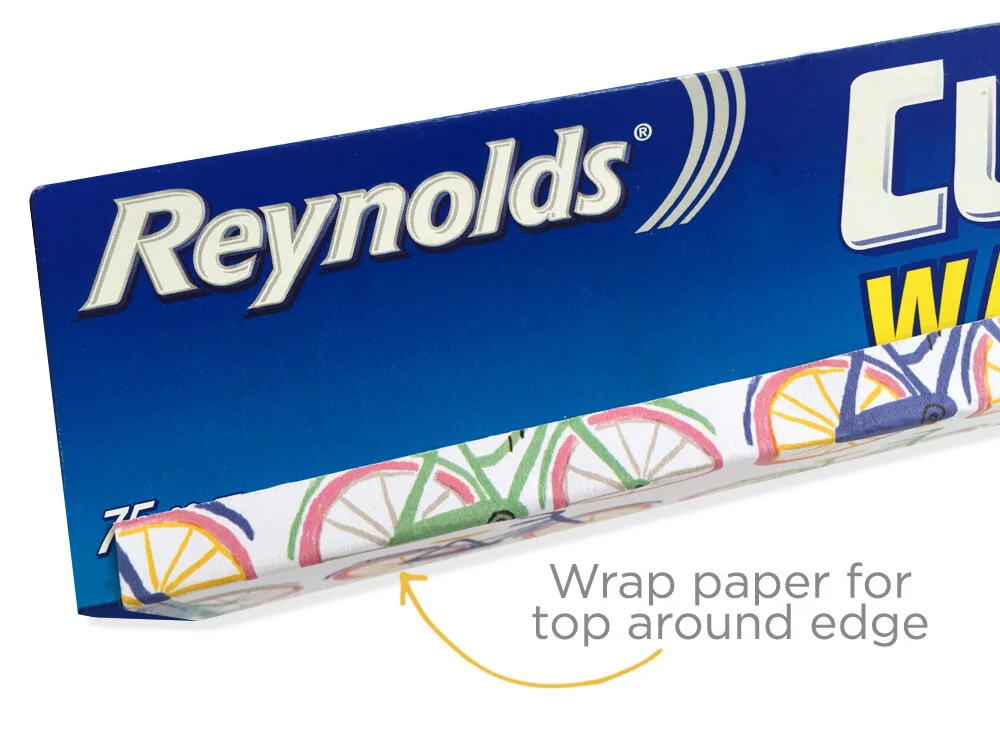
Wax paper and foil boxes are designed with the one large piece of cardboard which functions as the back, top and front flap that covers the cutting edge. Measure and cut the paper for this area to cover the front and top and a slight overlap to the back of the box. This way there are no cut edges of paper on each panel of the box that leaves a rough edge, or will fray or ding over time as you use the box. Wrapping the paper across the folds creates a much smoother, cleaner appearance.
Here’s how it looks when I got the top paper glued down.
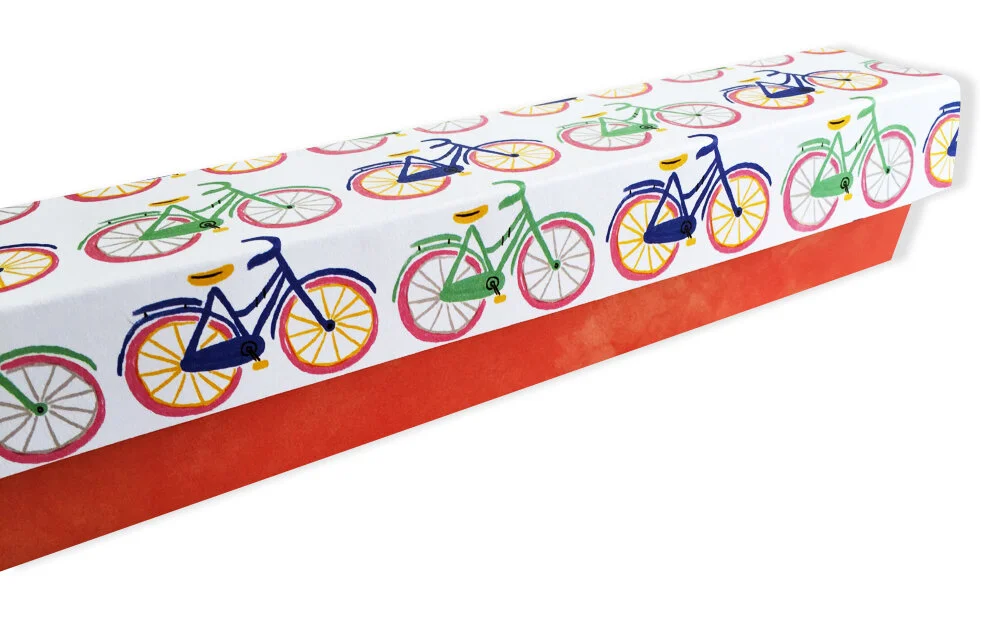
If you use a pattern paper like I did with the bicycles from Finders Keepers, be sure to plan how the pattern will view on the short flap on the front of the box. Plan placement from the front to the back. Since the box folds, you can measure and score where the paper will sit on the box if you choose. Glue the paper to the box, and as you close the lid, crease the panels lightly to get the paper molded to the box.
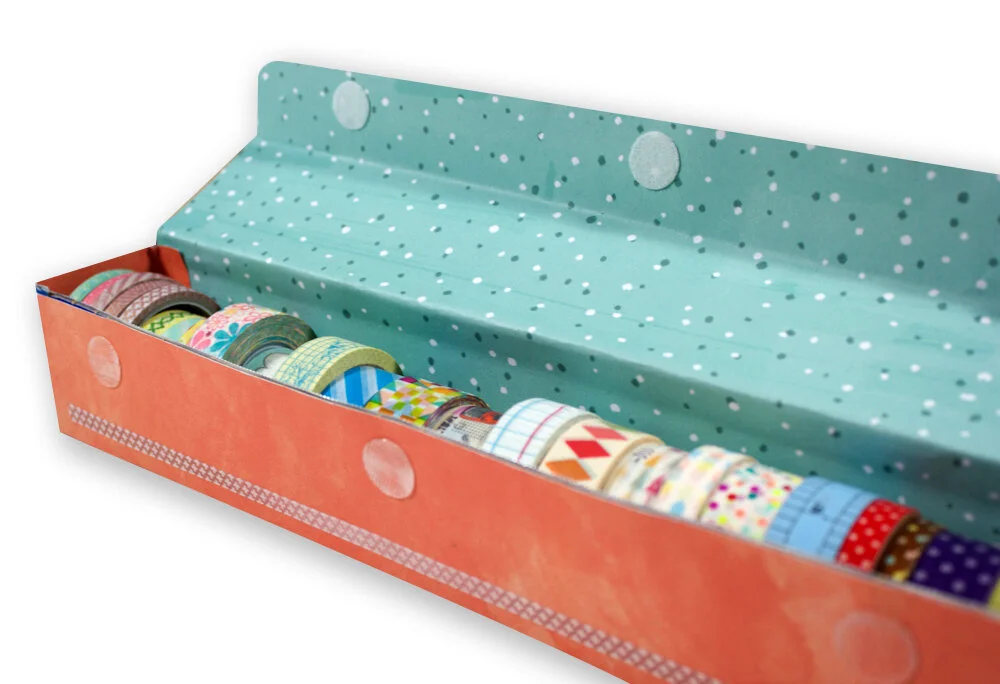
Once you get the entire outside of the box covered, cut a piece of coordinating paper for the inside of the box. It is important to score the folds for the inside as the box top can begin to get stiff with the layers of paper over the cardboard. Lighter weight scrapbook paper (not cardstock) works well for the inside. Here you can also see that I used Velcro dots for the closure system for the box.
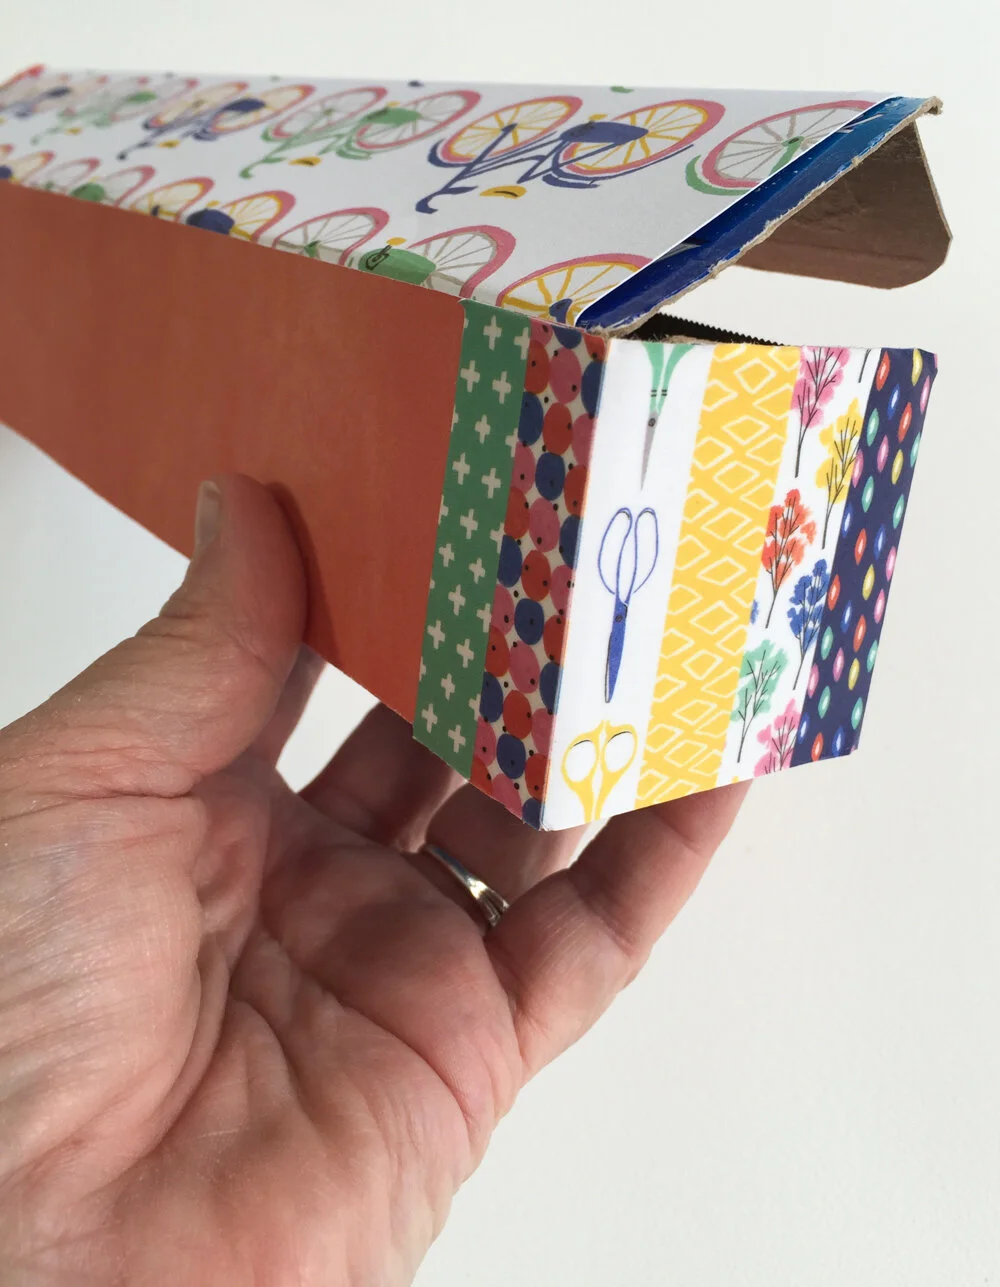
For the ends of the box in this project, I used Amy’s collection of Washi tapes. They were the perfect size to stack against each other over the end, and use on the back to cover the end gap. The ends can be covered with another paper or even wide ribbon.
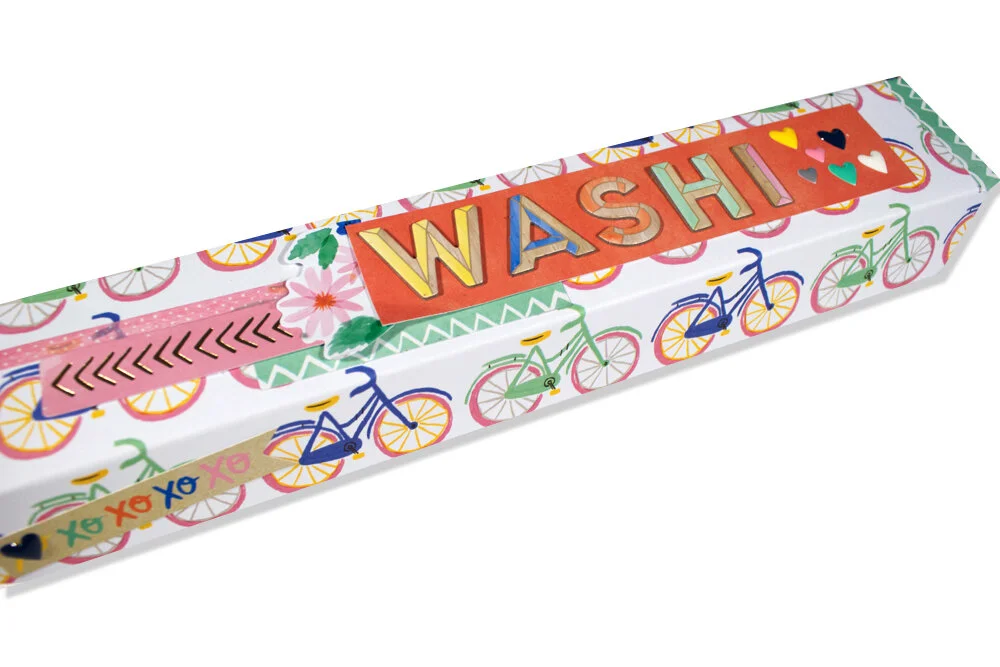
If you desire, decorate the outside of the box. Add stickers, embellishments, lettering, and other decoration to give it your style. Here’s how mine turned out using paper die cuts, lettering, enamel hearts and Washi from the Finders Keepers collection.
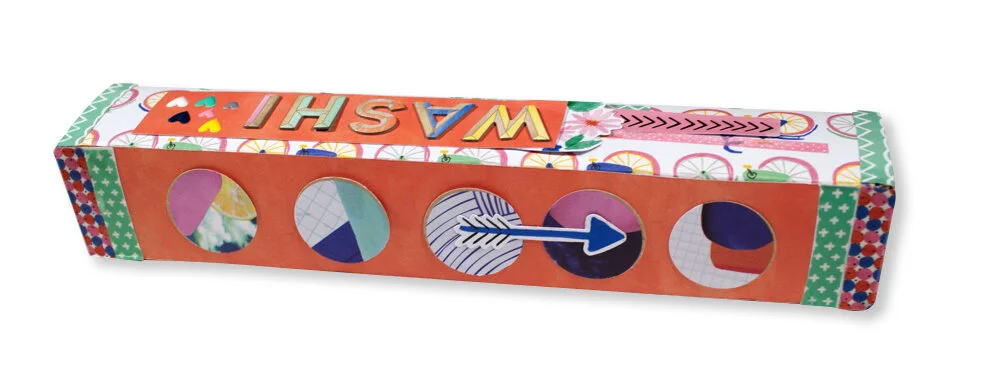
On the back I punched circles from one of the paper selections in Amy’s collection and glued in a strip, adding a die cut decoration.
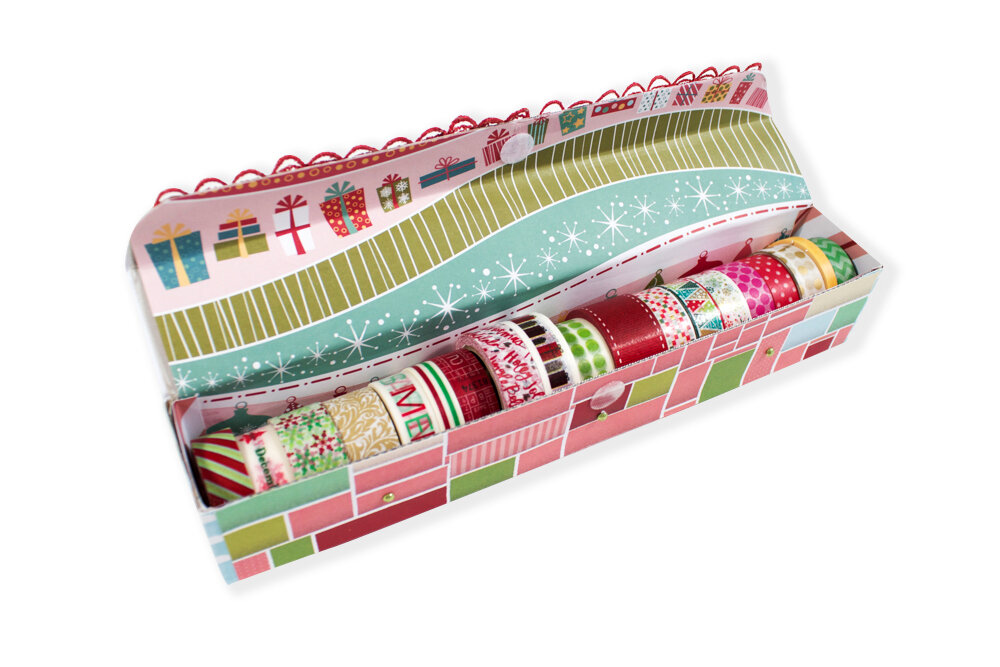
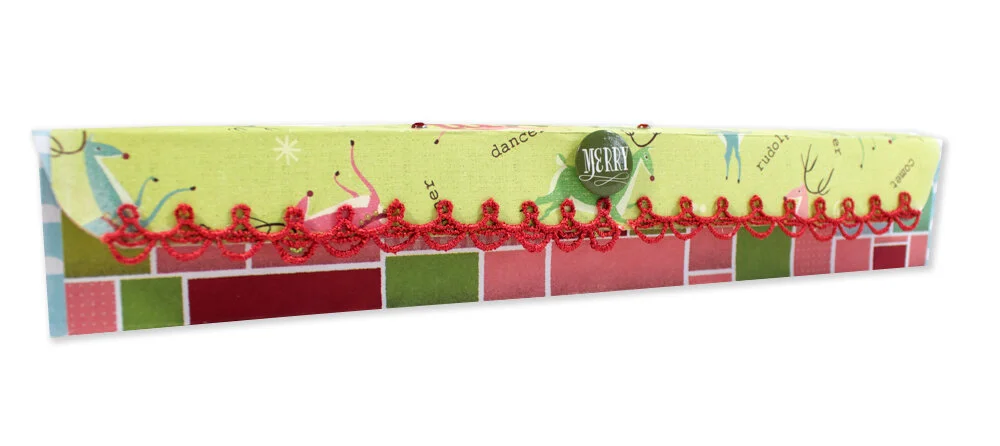
This project makes a great gift, too. With the holidays coming, why not create a decorative box filled with holiday-inspired Washi tapes!
I hope you enjoy this project and get some ideas. Share your box creations on Instagram with hashtag #amytangerine!
Amelia Woodbridge has spent her life living creatively, enjoying crafting, photography, scrapbooking, and other creative pursuits. She shares ideas, projects and favorite things on her blog Make Today Creative. Follow her on Instagram, Twitter, and Facebook.