
Explore Every Single Day from Beginning to End
Yesterday I shared with you all the Studio Calico projects I created, except for this one. Here's how it came together.

I recently had this landscape shot of the palm trees printed at 12 x 12" by Persnickety Prints, knowing that all the white space at the top would make for a great layout. So using primarily the Studio Calico Arthur add-on, I gathered a handful of my favorite embellishments and got to work.

The first thing I did was trim the bottom portion of the "Explore" journaling card off.

Next, I adhered the card to the top center of the photo.
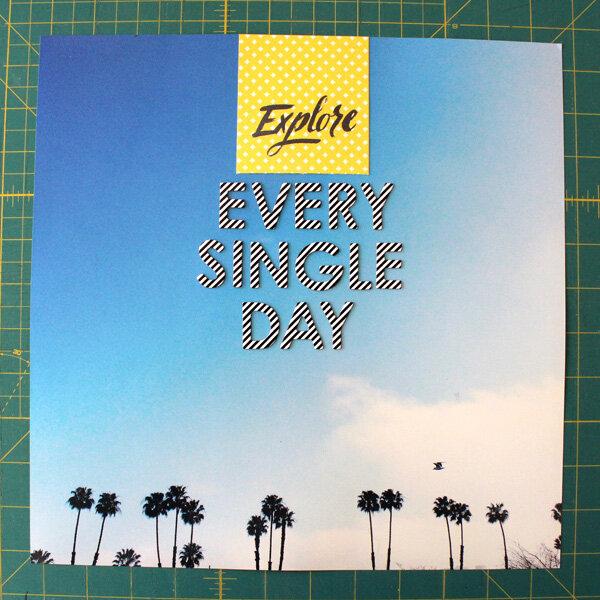
Using those awesome striped chipboard alphas, I made sure I had enough "e's" and then spelled out the phrase "every single day.”

Once the alphas were glued down, I placed the "XO" geotag badge under the phrase using a few strips of dimensional adhesive.

To add the finishing touch, I used a gold heart rub-on from the Camelot scrapbook kit, to fill in the open space on the "Explore" card. My plan is to frame this and have it hang somewhere in our home.