
Studio Calico Antiquary Main Scrapbook Kit | Step Out

First I gather all of the kit contents and determine which papers and embellishments will best fit my photos.

Once my supplies are determined, I start cutting out journaling cards from the Dear Lizzy patterned paper and play around with possible arrangements.

Next, I punch out a few circles from various patterned papers to place in a visual triangle around my layout.


After I have my papers and photos cut down to size, I start gluing everything down.

This new Fiskars ProCision Trimmer is amazing (and offered at a really good price on Amazon). To add a little more visual interest to the page, I cut a strip of colorful triangles and adhere it just below the red line of the background paper.

I then decide that there's no way I can make this layout without using the amazing "Live Creatively" stamp, so I find a spot for it and stamp down.

As the embellishments start to come together, I add a handful of adhesive bling for color and texture.

I also take the ribbon, fold it in half a few times (securing each fold with a little adhesive), and tuck it under my photo.

I take advantage of the journaling prompt stickers and use the "hello, my name is" just underneath the green acetate letters.
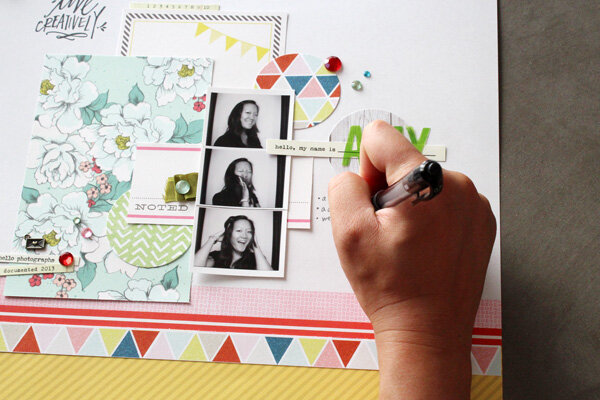
And finally, I hand write my journaling and call it good.

You can purchase the Scrapbook kit and other goodies at Studio Calico.